Skip to Section
This guide will walk you through everything you need to know about how to get started with time lapse photos —from the basics of setup to sharing your final masterpiece. Get ready to bring still images to life!
Time lapse photography has an unparalleled ability to capture the beauty of the world in motion, offering viewers a condensed perspective of extended moments.
With its unique power to shape time, this captivating form of photography has become increasingly popular in both professional and creative pursuits.
Whether you’re enchanted by the slow drift of clouds across the sky, the vibrant bloom of a flower, or the bustle of a city awakening, time lapse photography transforms these everyday occurrences into mesmerizing visual stories.
What is Time Lapse Photography?
Definition and History
Time lapse photography involves taking a sequence of photographs at set intervals over a specified period and then combining them into a video sequence. When played back, these frames create the illusion of time speeding up, allowing viewers to witness gradual changes and patterns.
This technique first became widely recognized in the early 20th century when French filmmaker Georges Méliès used it in his movie “A Trip to the Moon” (1902). Since then, time lapse photography has evolved and become more accessible with advancements in technology. Today, it is used by photographers, filmmakers, and even scientists to document everything from natural phenomena to construction projects.
Difference between Time Lapse and Hyperlapse
Time lapse photography is often confused with hyperlapse photography due to their similar techniques. However, there is a key difference between them. While time lapse captures movement from a fixed position, hyperlapse involves moving the camera over a certain distance while capturing images at set intervals. This results in a dramatic and dynamic effect, making hyperlapse popular for creating captivating cityscape videos.
How to Get Started with Time Lapse Photography
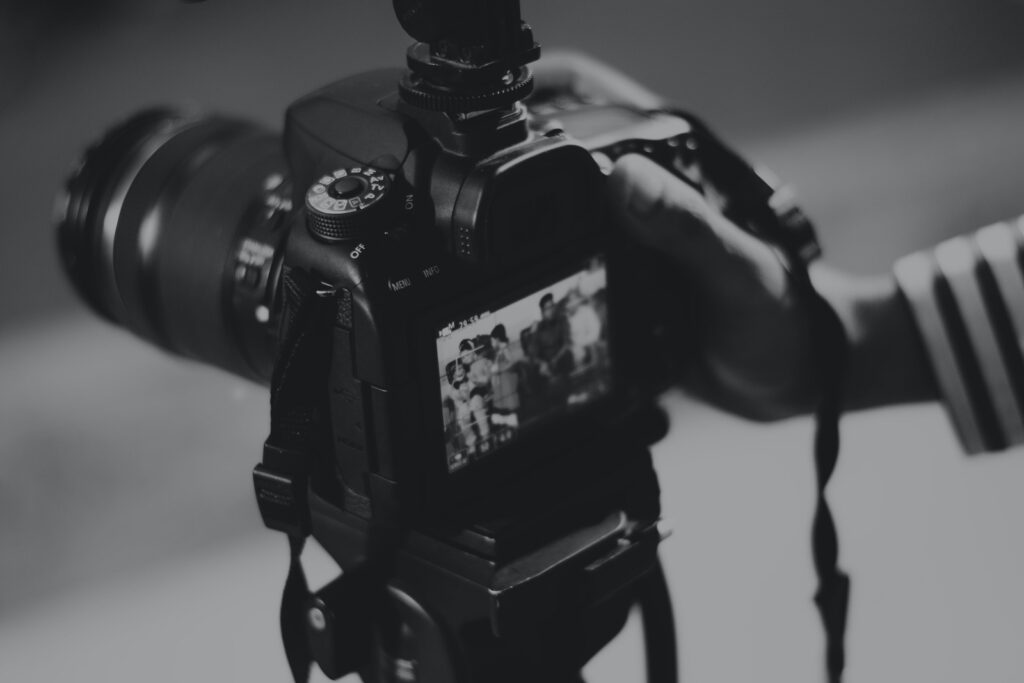
To get started with time lapse photography, you’ll need a few essential pieces of equipment:
- A camera or Smartphone with a camera
- Tripod,
- Intervalometer (or built-in interval timer),
- Sufficient storage space.
Many smartphones now have built-in time lapse features and can capture impressive results as well.
However, using a DSLR or mirrorless camera will give you more control over the settings and overall quality of your images.
A sturdy tripod is also crucial to keep your camera stable during the extended shooting period.
Camera Settings For Shooting Time Lapse
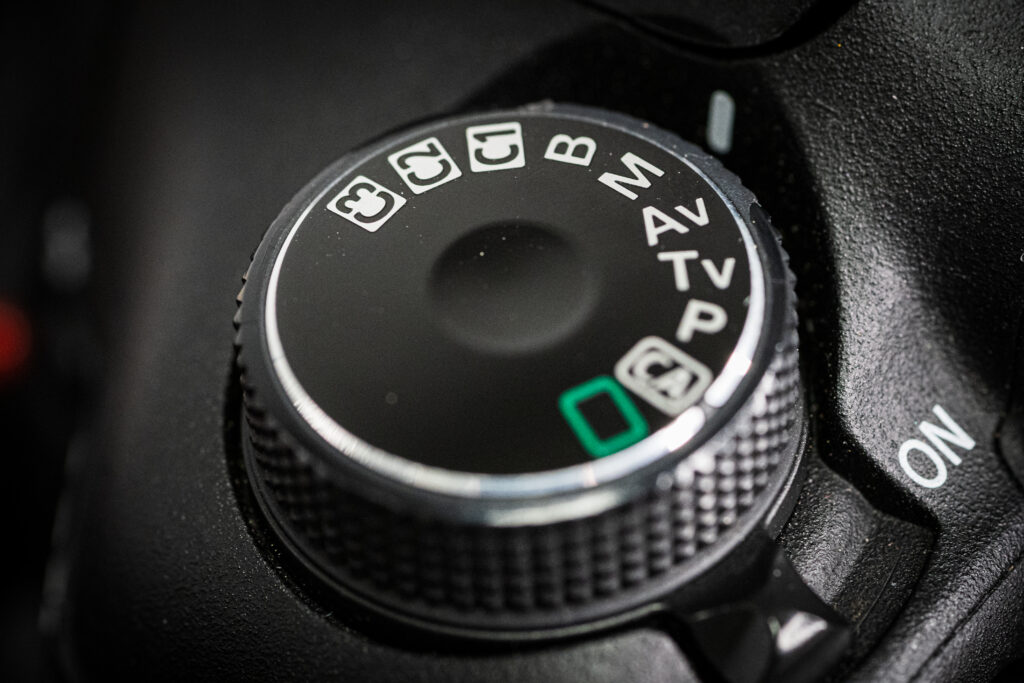
Time Lapse photography requires specific camera settings to ensure a smooth and consistent sequence of images. Here are some tips for setting up your camera:
- Manual mode: To maintain consistency, set your camera to manual mode to avoid any changes in exposure or focus between shots.
- Low ISO: Keep the ISO as low as possible (usually between 100-400) to minimize noise in the final video.
- Aperture priority Mode or fixed aperture: Choose an aperture that will give you enough depth of field throughout the entire shooting period. Alternatively, use a fixed aperture lens if available.
- Shutter speed: The shutter speed should be fast enough to capture each frame without any motion blur but slow enough to create
- Frame Interval: The frames per second/interval between shots should be determined by the length of your final timelapse video and how long you want your final video to span (e.g., one frame every 5 seconds for a 25-second video).
- Long Exposure: For capturing motion blur in your final video, you can use long exposure times and ND filters.
Getting your settings right for your time lapse video is crucial, You can create motion blur in post-production if desired.
Shooting Time Lapse on Smartphones
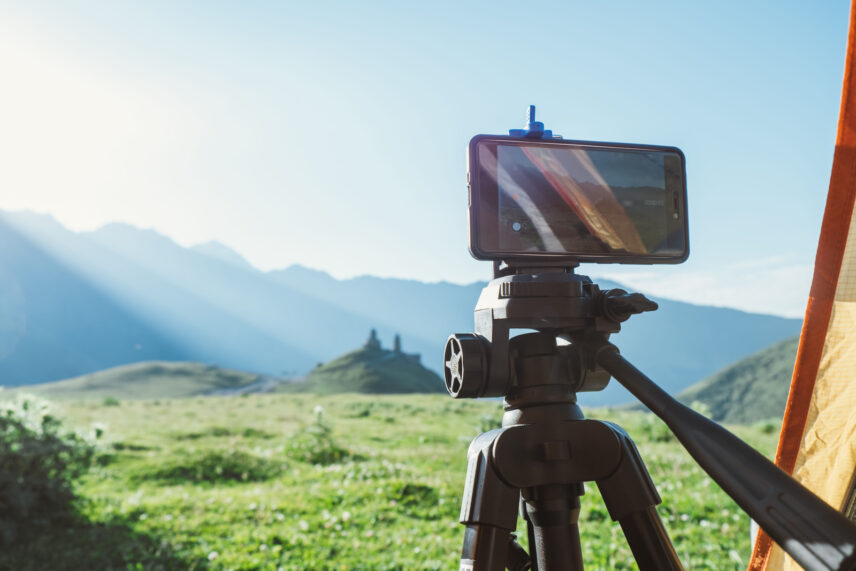
Smartphone cameras have come a long way, and many now offer built-in time lapse features. If using this option, it’s essential to keep your phone stable during shooting. Consider investing in a smartphone tripod or mount for better results.
Also, use an external battery pack to avoid draining your phone’s battery entirely during extended shoots.
Creating Your Time Lapse Video

Once you have captured all your images, it’s time to combine them into a video sequence.
There are various software options available for this process, such as Adobe Lightroom, LRTimelapse, or even free apps like Hyperlapse or Time-Lapse Camera HD. Simply import your images and adjust the settings according to your desired output (resolution, frame rate, etc.).
Post production is also an opportunity to add music or sound effects and adjust the colour grading of your video.
Sharing Your Time Lapse Video Masterpiece
After putting in all the effort and creativity into your time lapse video project, it’s only natural that you would want to share it with others. Luckily, there are plenty of platforms where you can showcase your work online, such as social media platforms like Instagram or YouTube.
Examples Of Time Lapse Photography
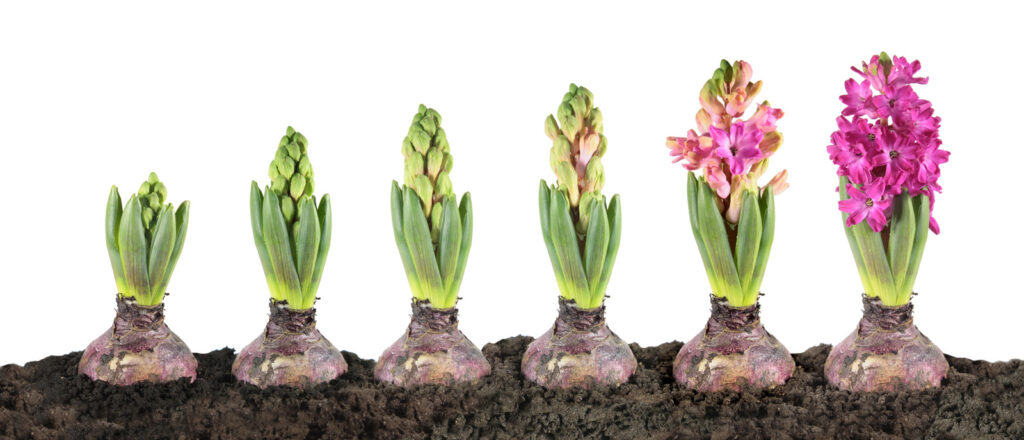
Here are some stunning examples of time lapse photos to inspire your next project:
- Day to Night: Capturing the transition from day to night over a city skyline can create stunning and dramatic results.
- Flower Blooming: Documenting the blooming process of flowers adds a touch of magic to any time lapse video.
- Construction: Time lapse photography is often used in construction projects to showcase the progress over an extended period.
- Nature: Capturing natural phenomena such as auroras, sunsets, or star trails can result in breath taking and ethereal time lapse videos.
- Night Shot of the stars: Using a tilt-shift lens with a time lapse technique creates an otherworldly effect, making the stars appear as if they are moving.
Conclusion
In conclusion, time lapse photography is a fascinating technique that allows us to witness the gradual changes and patterns of our world through a unique visual perspective.
No Comments yet!