Skip to Section
- 1 Why Sun Rising Time-lapses Are Captivating
- 2 Essential Gear for Capturing the Perfect Sun Rising Time-lapse
- 3 Step-by-step Guide to Setting Up Your Sun Rising Time-lapse
- 4 Optimal Camera Settings for a Sun Rising Time-lapse
- 5 Post-processing Techniques to Enhance Your Sun Rising Time-lapse
- 6 Sunset Timelapse Tips
- 7 Your Next Step to Capturing Stunning Time-lapses
Whether you’re a budding photographer or a seasoned pro, this guide will walk you through everything you need to know about creating a stunning sun rising time lapse.
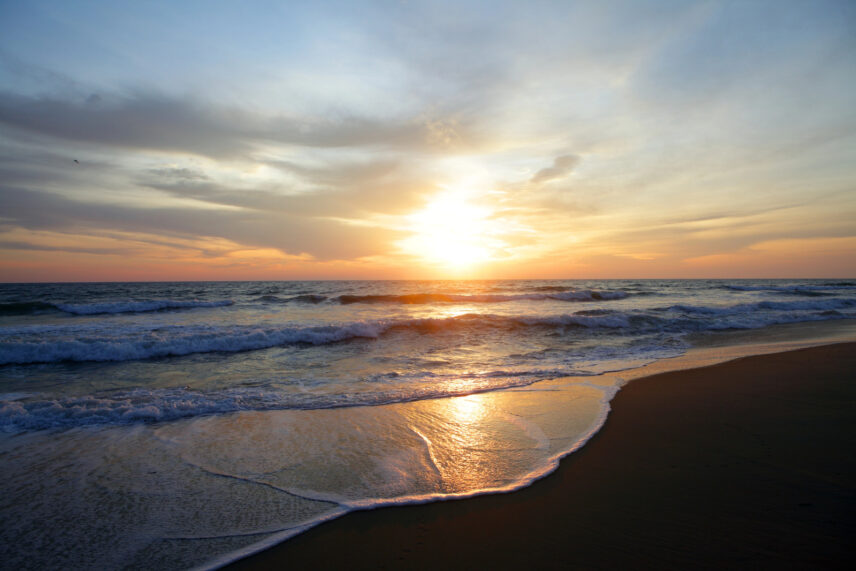
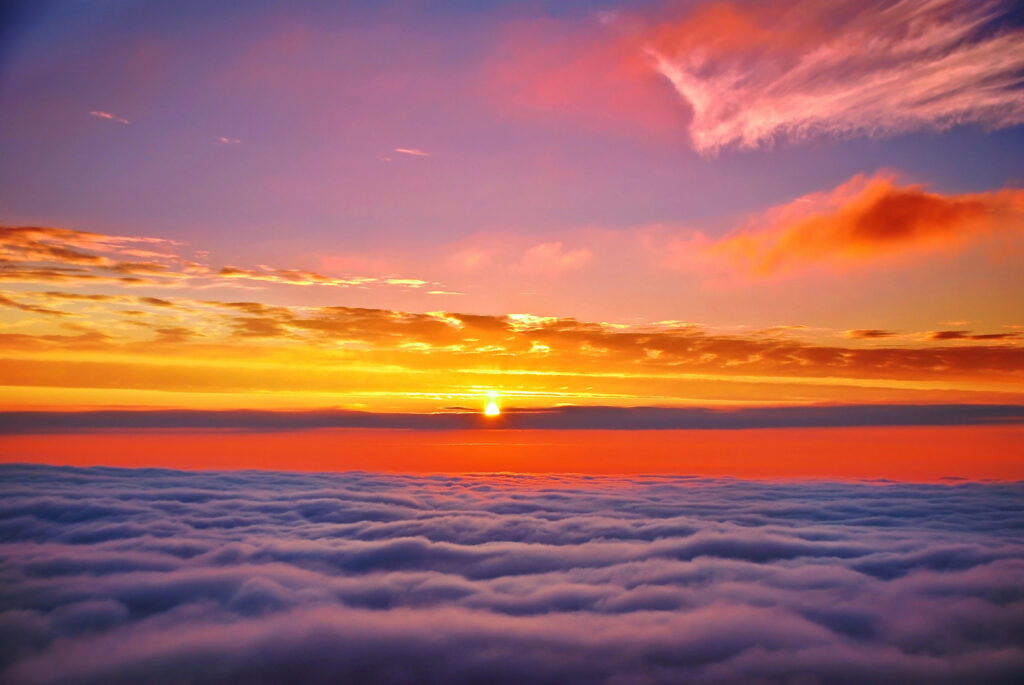
There’s something undeniably mesmerising about watching the sun rise. It’s a moment where nature showcases its artistry, painting the sky with hues of orange, pink, and gold. But how often do we get to truly appreciate this spectacle? For many, it’s fleeting, often missed amidst busy mornings. That’s where a sun rising time-lapse video comes in. By condensing hours into seconds, time-lapses allow you to experience the breath taking beauty of a sunrise in all its glory.
Why Sun Rising Time-lapses Are Captivating
A sunrise embodies hope, new beginnings, and the magic of life itself. Capturing the moment the sun appears through a time-lapse not only allows you to immortalise the moment but also provides a unique perspective. Watching the world slowly come to life as darkness yields to daylight is an experience unlike any other.
But creating a time-lapse video isn’t just about pointing a camera at the sky. It’s a process that requires preparation, patience, and some technical know-how. The good news? With the right tools and guidance, anyone can do it.
Essential Gear for Capturing the Perfect Sun Rising Time-lapse
To create a professional-quality sun rising time-lapse, having the right equipment is key. Here’s what you’ll need:
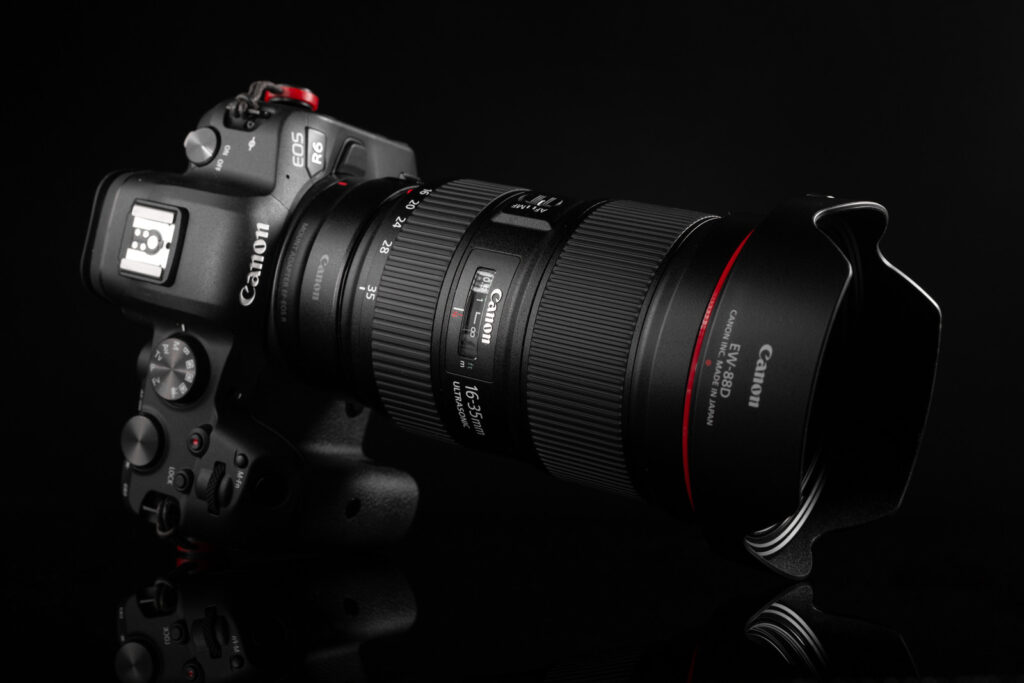
1. Camera
While it’s possible to shoot time-lapses with a smartphone, a DSLR or mirrorless camera will give you far better results. Look for models with manual settings and built-in intervalometer features for ease of use. Popular options include:
- Canon EOS R5
- Nikon Z6 II
- Sony Alpha A7 III
2. Lens
A wide-angle lens works best for sunrise time-lapses, as it can capture the full scope of the changing sky. Choose a lens with a low aperture rating (e.g., f/2.8 or lower) to perform well in low-light conditions.
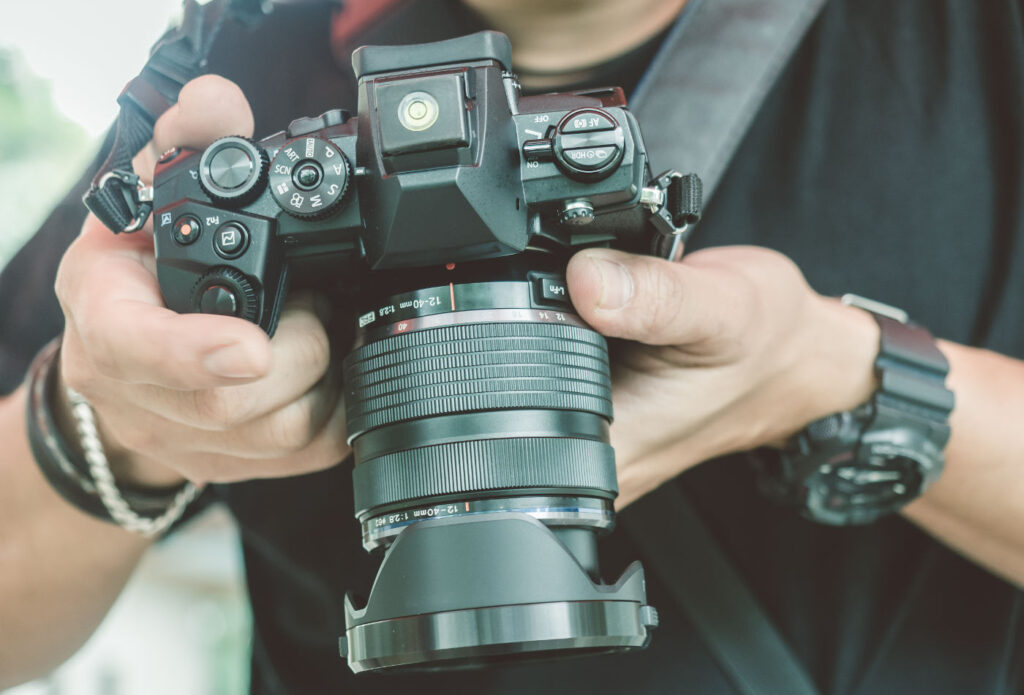
3. Tripod
Stability is critical when shooting time-lapses. A sturdy tripod will keep your camera steady during the entire sequence. Models like the Manfrotto Befree or Peak Design Travel Tripod are excellent choices.
4. Intervalometer
While many modern cameras have built-in intervalometers, an external one can give you more control. This device allows you to program your camera to take photos at set intervals, ensuring smooth transitions in your time-lapse.
5. ND Filters (Optional)
If you’re shooting in bright conditions, neutral density filters limit the amount of light entering the lens, preventing overexposed shots.
6. Extra Batteries
Time-lapses take time (pun intended), and your camera’s battery drains quickly. Make sure to pack spares.
Step-by-step Guide to Setting Up Your Sun Rising Time-lapse
Sunrise time-lapses require careful planning. Here’s how to get started:
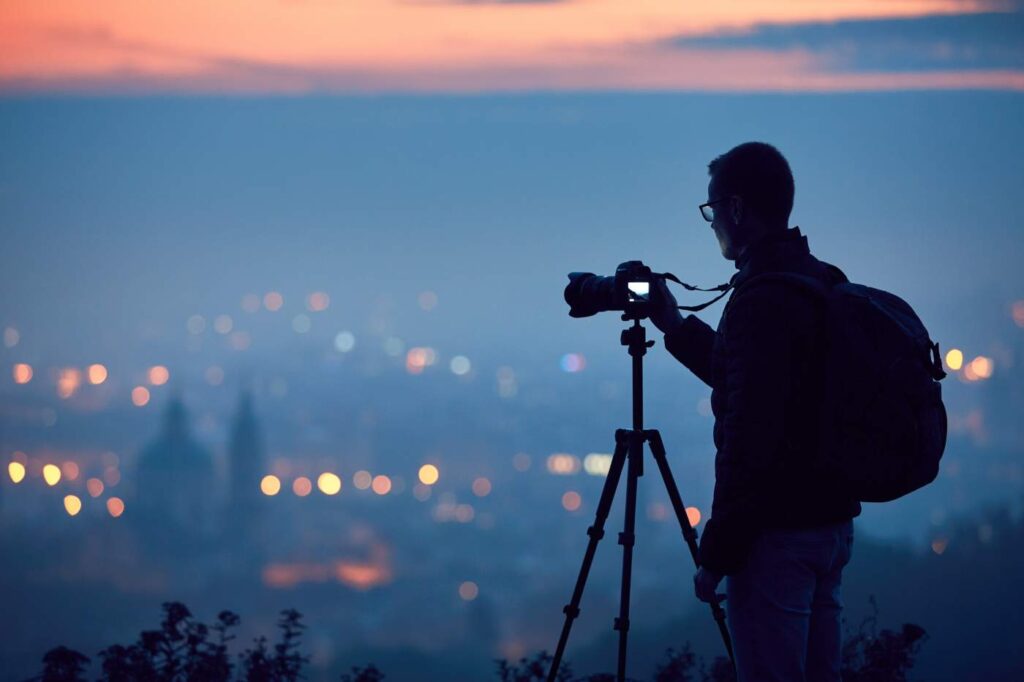
1. Scout Your Location
Find an area with an unobstructed view of the horizon. Coastal areas, open fields, and hilltops make excellent choices. Visit ahead of time to identify the best angles and avoid surprises.
2. Check the Weather
Clear skies are ideal for capturing dynamic colours and transitions as the sun moves. Use apps like Ventusky or Clear Outside to get accurate forecasts.
3. Know the Direction and Sunrise Time
The sun rises in the east, so make sure to position yourself accordingly. Knowing the exact time of sunrise
Use tools like timeanddate.com to determine the exact sunrise time for your location. Arrive at least 30–60 minutes early to set up and capture pre-sunrise hues.
4. Set Up Your Tripod and Camera
Position your camera securely on the tripod. Frame the shot with enough room for the sky, landscape, and horizon. Use a spirit level if necessary to ensure a straight horizon line.
5. Program the Intervalometer
Set the interval to take one photo every 1–5 seconds, depending on how long you plan to shoot and the transition speed you want.
6. Double-check Everything
Ensure your batteries are charged, your storage card has enough space, and your camera settings are correct before first light and starting the sequence.
Optimal Camera Settings for a Sun Rising Time-lapse
Getting your camera settings right is crucial for a smooth, high-quality time-lapse. Here’s a breakdown:
- Shoot in RAW: RAW files retain more detail, giving you greater flexibility during post-processing.
- Manual Mode: Auto settings can lead to inconsistent results. Manually adjust ISO, aperture, and shutter speed for precise control.
- Aperture: Start with a wide aperture (e.g., f/2.8–f/4) to capture enough light during low-light conditions.
- Shutter Speed: Use slower shutter speeds (e.g., 1/15–1/30 sec) to create smooth transitions.
- ISO: Begin with a low ISO (e.g., 100–200) to reduce noise, gradually increasing as the light improves.
Post-processing Techniques to Enhance Your Sun Rising Time-lapse

Shooting a sunrise time-lapse is only half the battle; polishing it during post-production is where the magic happens. Use software like Adobe Lightroom and Premiere Pro for best results.
Basic Steps:
- Import RAW Files into Lightroom for colour correction and exposure adjustments.
- Batch Edit photographs to maintain consistency across all frames.
- Create the Time-lapse Sequence by importing the images into video editing software like Premiere Pro or Final Cut Pro.
- Add Music or Effects to enhance the mood of your video.
Advanced Techniques:
- Add motion effects (like panning or zooming) in post-production to add dynamic interest.
- Experiment with speed adjustments, slowing down or speeding up specific sections for dramatic impact.
Sunset Timelapse Tips
Creating a sunset time-lapse follows similar steps to those for sunrise. However, here are some additional tips:
- Arrive early and scout the location beforehand to choose the optimal angle and composition.
- Bring extra batteries, as sunsets can be long-winded affairs (pun intended).
- Keep an eye on changing light conditions and adjust your camera settings accordingly.
- Have patience; sunset light can change quickly, so don’t rush through your shots.
- Experiment with different intervals (e.g., 2–10 seconds) to capture varying transition speeds.
The sun appears and moves from East to West throughout the day, so you’ll need to adjust your camera position accordingly. Also, note that sunset times are usually earlier than sunrise times.
Your Next Step to Capturing Stunning Time-lapses
Creating a sunrise time-lapse is a rewarding and magical experience. It allows you to preserve the beauty of nature in a way that’s both impactful and artistic. With the right equipment, preparation, and techniques, you’ll be able to produce breath taking videos that transport your audience to the heart of a new day.
No Comments yet!